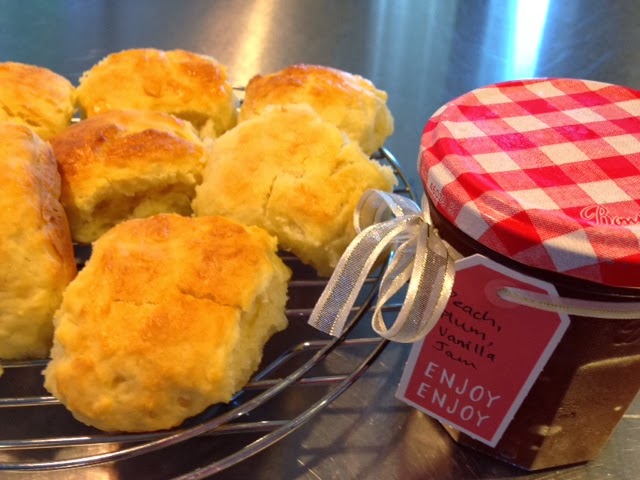
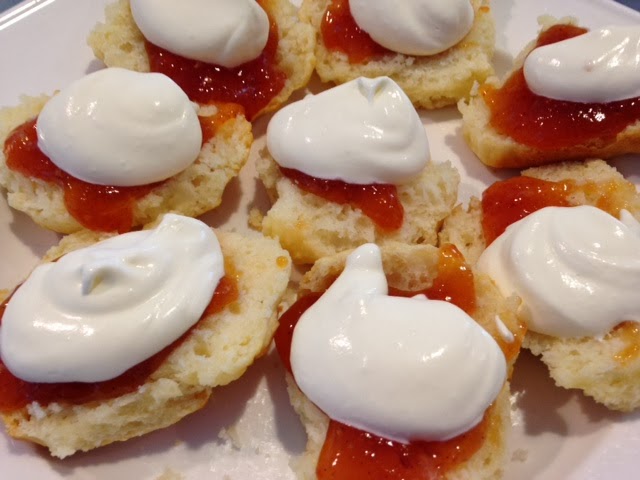
I baked this batch of scones today for afternoon tea, following a request from my 12-year-old daughter Jana who pointed out just how long it has been since I’ve made my marvellously simple Cloud Scone recipe. Actually the timing was perfect, because we were able to enjoy the golden scones with freshly whipped cream and lashings of homemade Peach, Plum and Vanilla Jam that I cooked up on Thursday evening.
If the thought of making jam sounds far too time consuming and hardly worth the effort, then THINK AGAIN! Home cooked jam is EASY to make, delightful to eat and the cooking process fills your home with a fragrance far more beautiful than any scented candle. Plus it is a practical and economical way of using up over-ripe fruit left in your fruit bowl.
Just make sure you have plenty of clean, sterilised jars in which to store your sticky, scented jam. You can find a variety of sizes in kitchenware stores like The Essential Ingredient, large supermarket chains such as Coles and Woolworth’s as well as the David Jones cookware department.
Pretty labels and ribbon will jazz up your filled jars making them a pleasing edible git for family and friends – especially if presented with those golden scones.
You can find my scone recipe on the post dated the 5th June 2013. Simply type the word “scone” into the search window of Cabinet of Cookery.
Peach, Plum and Vanilla Jam
1 kg fresh, very ripe peaches and plums (I used equal quantities of each fruit)
1 kg CSR jam setting sugar – this is readily available in the general sugar section of your local supermarket.
1 vanilla bean pod
Put a couple of saucers in the freezer – trust me you will need them to test if the jam is ready.
Wash, peel and dice up the fruit into bite sized pieces. Remove the pips. Put the fruit and sugar into a large pot over a low-medium heat. Cook until the sugar has completely dissolved, stirring regularly to prevent the mixture from burning. This will take about 10 – 15 minutes.
Split the vanilla pod and scrape out the tiny, black seeds into the fruit and sugar mixture. Also add the pod. Increase the heat to medium-high and bring the mixture to the boil. You should see plump, rolling bubbles across the surface of the mixture but it should not splatter. Reduce the heat if splattering starts. Continue to boil the mixture for 15 – 20 minutes. Now, this part is very important. After 15 minutes, remove the pot from the stove. Scoop out a teaspoonful of jam onto the saucer that has been in the freezer. Push it gently with your finger. If it wrinkles the jam is ready. If not, return the mixture to the stove and boil for another 5 minutes.
Once the mixture is ready, you can leave it textured or run a Barmix blender through it briefly.
Ladle into the sterilised jars whilst the jam is still hot and seal with the lids provided. During the warmer months I like to store my jam in the fridge, to be food safe.
* If you make jam using berries, the mixture only needs to boil for 5 minutes. Stone fruits require longer cooking time in order for the jam to set properly.
Comments are closed here.