 |
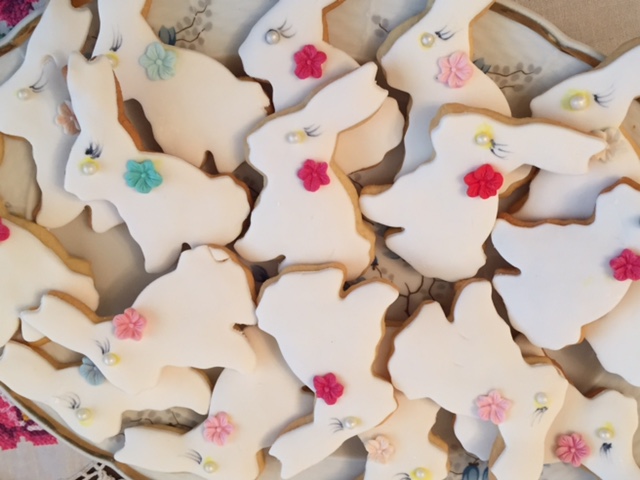
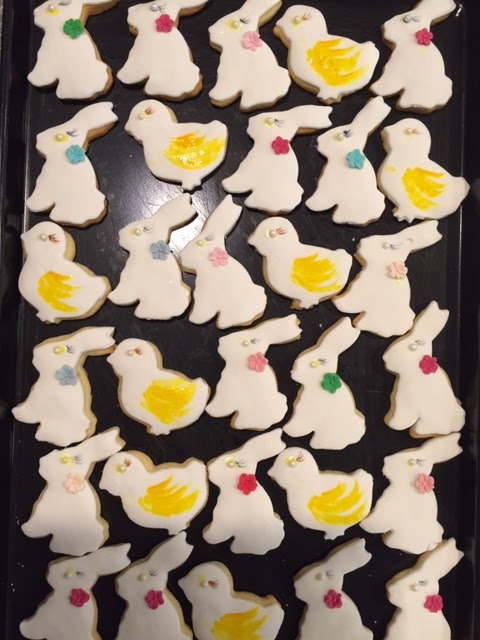
| Easter biscuits setting on a tray |
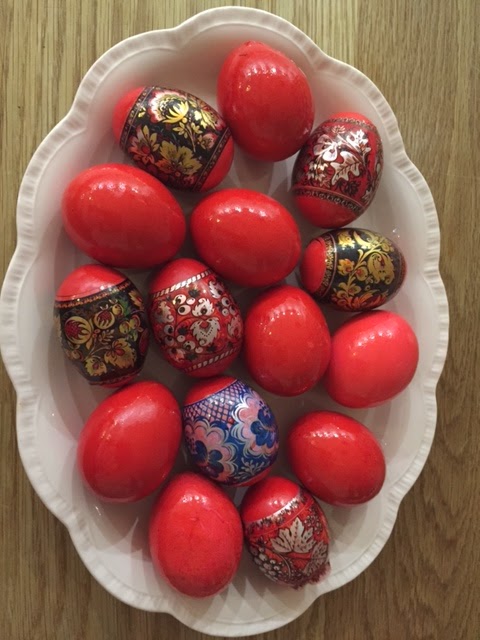 |
| Traditional hand tinted eggs for Orthodox Easter |
It was Orthodox Easter last Sunday and rather than arrive at our extended family gathering bearing baskets of chocolate eggs and bunnies, I made these pretty Easter bunny and chicky cookies instead.
My daughter Jana has been lobbying relentlessly for a real bunny (soft, flop-eared, very cute, very prone to escaping under the fence, very time consuming…) She had hoped that one or possibly a pair would be waiting in the backyard for her on Easter morning. Alas that was not to be, but these sweet bunny cookies certainly brought a smile to her face.
It amazes me how much space children have in their tummies. After a beautifully prepared feast (courtesy of my mother-in-law), the little ones (and teenagers – aka grazers) still had room for dessert along with these fondant cookies. Plus they had even snaffled up the Easter chocolate stash supplied by their aunties, with chocolate smears on clothing and faces giving away their secret.
Tip – You will need to plan ahead when making these cookies, because they are fiddly and require time to cool. Rush the process and the results will be disappointing. Follow the steps in a calm manner and you and your family and friends will be thrilled with the results. Just make sure you bake enough, because its oh so hard to stop at one!
Fancy Fondant Covered Cookies
I made 55 cookies from this quantity, as my Easter themed cutters are smaller than the usual flower, heart and star shapes I have used in the past. Larger cutters will yield about half this amount. Cooled cookies (with or without fondant) will keep for up to 4 weeks in an airtight container at room temperature. The recipe is from The Australian Women’s Weekly Cake Decorating book (a home cook can always rely on that triple testing of theirs!). I have altered the method slightly and this works well too.
Ingredients
125g unsalted butter
150g caster sugar
1 teaspoon vanilla extract
2 eggs
200g self raising flour
150g plain flour
*plus extra plain flour for rolling and cutting
To decorate:
500g white fondant (I use the vanilla SATIN ICE variety)
food safe gel colouring and edible ink decorating pens
cachous (edible sugared beads)
cornflour
1 egg-white, lightly beaten with a fork
The butter and eggs need to be taken out of the fridge 30 – 60 minutes prior to using them so that they can be at room temperature.
Place the butter, sugar and vanilla extract in mixing bowl and using an electric mixer, beat until smooth and combined. Do not keep beating in order to make the butter become pale. This is not necessary.
Add the eggs one at a time, beating each one in until just combined.
Add the sifted flours and beat in slowly until a smooth, soft dough forms.
Turn the dough out onto a lightly floured surface and kneed lightly into a smooth ball. Place back in the mixing bowl, cover with plastic wrap and place in the fridge for 30 minutes.
In the meantime, preheat the oven to 180 degrees on a conventional setting or 160 degrees fan forced. Line your baking trays with non-stick baking paper and select your cookie cutters.
Once the dough has rested enough, remove from the fridge and roll out on a lightly floured surface, using a rolling pin. For the best results, roll out the dough to a thickness of about 5mm (they will rise due to the addition of the self raising flour).
Cut out your shapes and lift onto the baking trays using a flat wide palette knife. Leave room between the cookies to allow for expansion while baking.
Bake in the oven for about 10 minutes or until a light golden brown.
Remove from the oven when ready and wait for 5 minutes before transferring onto wire racks to cool. The cookies must be COMPLETELY COOL before fondant and decorations are applied, otherwise the pretty adornments will simply slide off and melt.
To decorate, roll out your chosen fondant on a clean bench, sprinkling it first with cornflour to prevent sticking. It should be about 3mm on thickness. Use the same cutters to press out shapes.
Brush the surface of each cookie with a little lightly beaten egg white before carefully applying the shaped fondant. I use a small natural bristle pastry brush to do this. The egg-white will allow it to stick. If you would like to add sugared decorations such as flowers or edible metallic coloured cachous, simply dab extra egg-white onto the fondant using a clean, fine tipped artists paint brush. Decorating pens can be used to draw on the whiskers or eyelashes.
Your fancy cookies are now ready to serve or store until required.
Comments are closed here.